Introduction:
This article is a continuation of HTML Basics for Beginners – Part 1, where we introduced the foundational structure of an HTML document. Understanding HTML is essential for creating well-structured web pages that ensure both readability and functionality. In this section, we’ll explore key HTML elements such as headings, containers, links, and images, providing clear explanations and practical examples. Whether you’re new to web development or looking to strengthen your fundamentals, this guide will help you build a solid foundation in HTML.
Basic HTML Document Structure
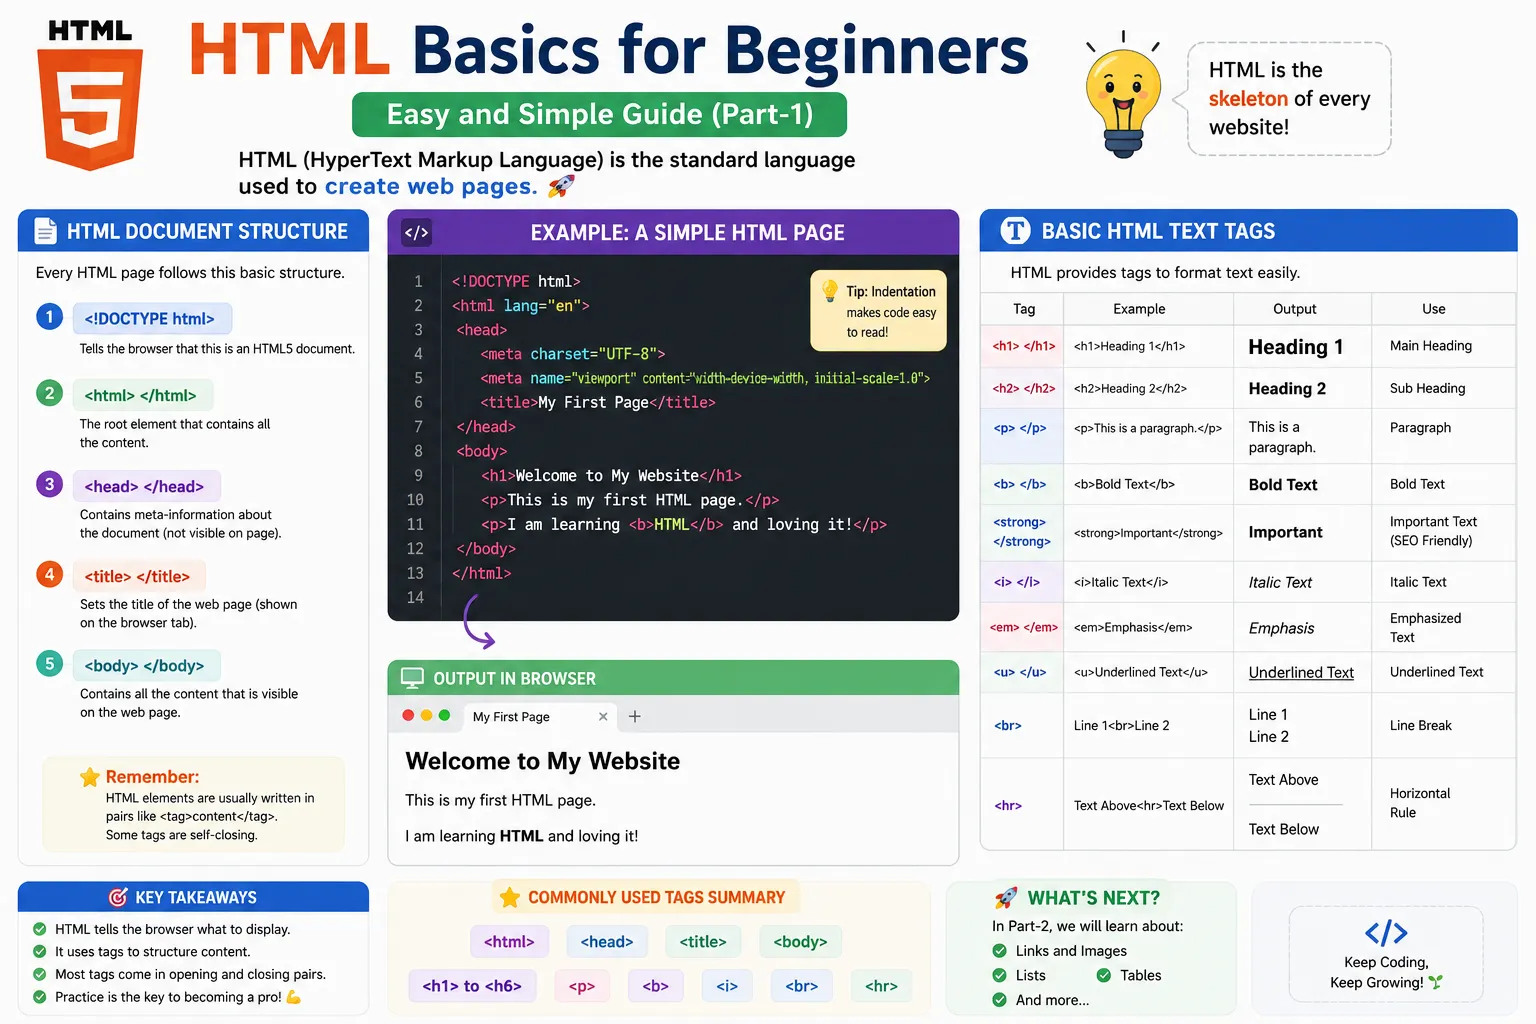
When building a webpage, you need to structure your content properly so that browsers and users can read it easily. Here’s a breakdown of some essential HTML tags used for organizing content, explained in a simple way with real-life examples.
1. Headings (<h1> to <h6>)
Headings help organize content into sections, just like chapters in a book. The <h1> tag is the largest (main title), while <h6> is the smallest (sub-section title).
Example:
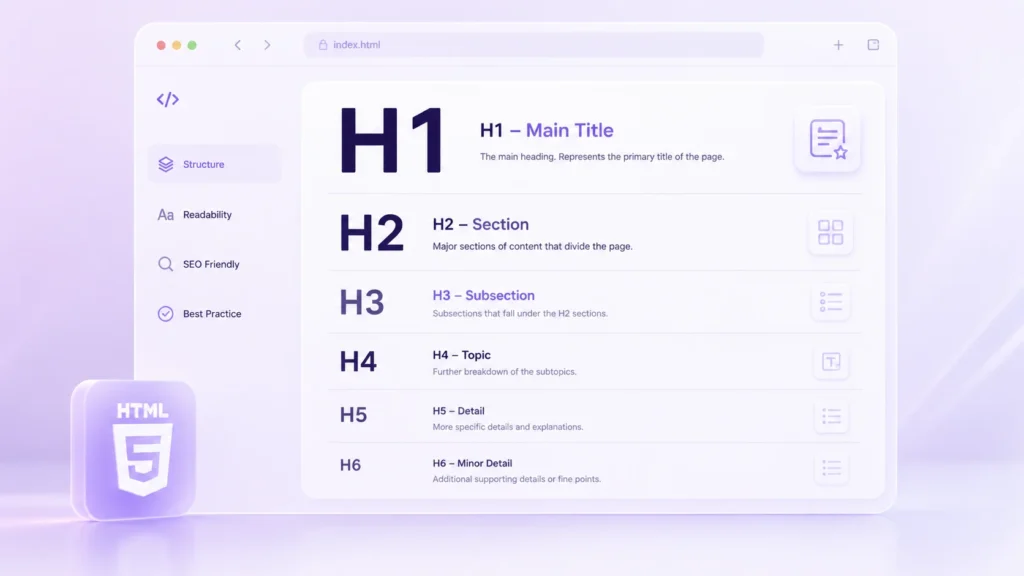
Tip: Use <h1> for the main title and <h2> to <h6> for sub-sections.
2. <div> – Block-Level Container
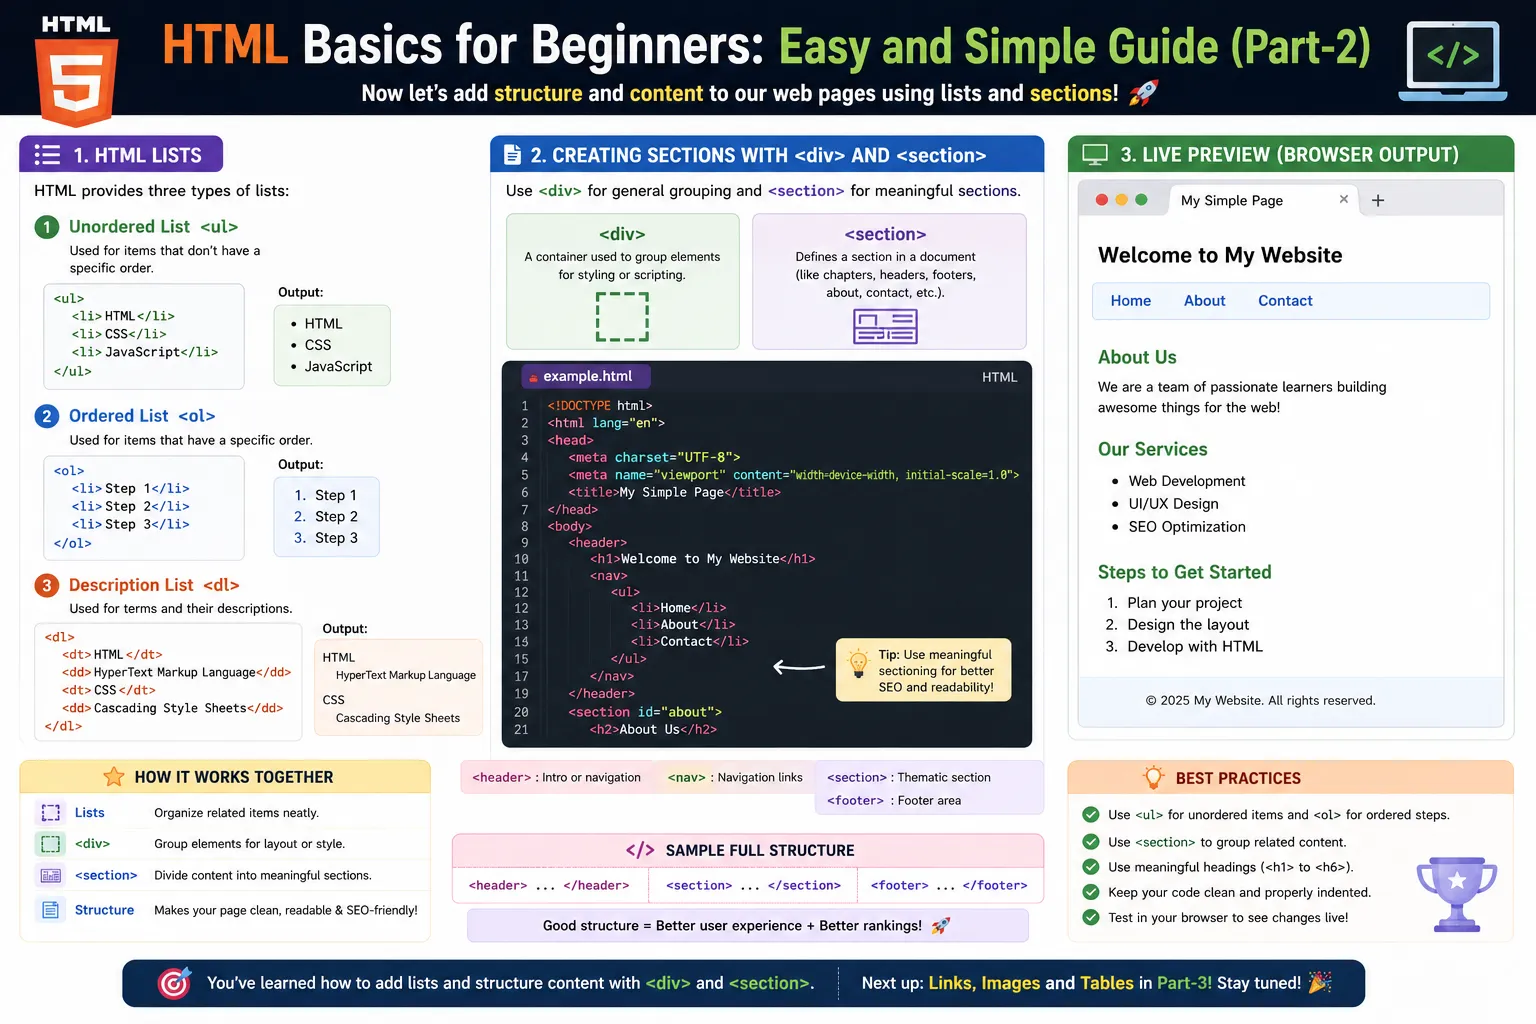
The <div> tag is used to group content together. Think of it like a box that holds different items inside
Example:

Tip: Use <div> to organize and style sections of your webpage.
3. <span> – Inline Text Container
The <span> tag is used for styling specific parts of text inside a paragraph or sentence. Imagine highlighting a word in a book with a marker.
Example:

Tip: Use <span> when you need to style a small part of text inside a block.
4. <p> – Paragraphs
The <p> tag is used for writing text content in paragraphs. Just like in a book, paragraphs help separate information clearly.
Tip: Use <p> for normal text content to make it readable.
5. <br> – Line Break
The <br> tag is used for writing text content in paragraphs. Just like in a book, paragraphs help separate information clearly.

Tip: Use <br> when you need a line break without extra spacing.
6. <hr> – Horizontal Line
The <hr> tag creates a horizontal line to separate content, like a divider between sections.
Tip: Use <hr> to visually separate sections of a webpage.
Links in HTML
Links in HTML, the <a> (anchor) tag is used, allowing users to navigate to different web pages or even open an email client. Let’s break down some common uses with simple explanations and examples.
1. Basic Link (<a href> – Hyperlink)
The <a> tag (anchor tag) creates a link. The href attribute defines where the link will take the user.
📝 Think of it like: Clicking a button in an elevator to go to another floor.
Example:

Tip: Always include http:// or https:// for external links.
2. Email Link (mailto: – Send an Email)
If you want users to send an email directly when they click a link, use mailto: in the href attribute.
📝 Think of it like: Clicking on a contact in your phone to send an email.
Example:

Tip: When clicked, this link will open the user’s default email app with a new email draft.
3. Named Anchor (<a name> – Create a Section Link)
A named anchor allows you to create a specific section in a page that users can jump to directly.
📝 Think of it like: A bookmark in a book that helps you jump to a specific page.
Example:

Tip: This alone won’t do anything, but it helps in combination with #name links (explained below).
4. Jump to a Section (href=”#name” – Internal Navigation)
Use href=”#name” to navigate to a specific part of the same page, making it easier to browse lengthy content.
📝 Think of it like: Clicking a table of contents link in an ebook to jump to a chapter.
Example:
Tip: Clicking the link will scroll the page to the “About” section.’
Images & Image Maps in HTML
Images in HTML can be more than just pictures. With image maps, you can make different parts of an image clickable, leading users to different links or actions.
1. <img> – Adding an Image
The <img> tag allows images to be displayed on a web page, improving its visual content.
📝 Think of it like: Adding a photo to a blog post or a profile picture.
Example – Basic Image
🔹 Explanation:
- src=”image.jpg” → The source (file location) of the image.
- alt=”A beautiful sunset” → Alternative text if the image doesn’t load.
- width=”300″ → Sets the image width to 300 pixels.
Tip: Always use the alt attribute for better accessibility.
2. <map> – Creating an Image Map
An image map makes different parts of an image clickable, linking to different pages or sections.
📝 Think of it like: Making a map interactive, where clicking on different cities takes you to different pages.
Example – Image Map with Clickable Areas

🔹 Explanation:
- <img src=”world-map.jpg” usemap=”#worldmap”> → Links the image to the <map>.
- <map name=”worldmap”> → Defines the interactive map.
- <area> → Defines clickable areas.
- shape=”rect” → Rectangle (with coords=”x1,y1,x2,y2″).
- shape=”circle” → Circle (with coords=”centerX,centerY,radius”).
- shape=”poly” → Polygon (with multiple x,y points).
- href=”usa.html” → Clicking this area leads to usa.html.
Tip: Use an image editor to find the correct coordinates for the clickable areas.
Conclusion:
Mastering these fundamental HTML elements will enable you to create well-organized and user-friendly web pages. From headings and paragraphs to links and images, each component plays a key role in structuring your content effectively. Stay tuned for HTML Basics for Beginners – Part 3, where we’ll cover more essential HTML concepts. For more learning opportunities, explore courses at Aryu Academy to boost your expertise!